Are you enjoying all the cozy vibes this season with string lights and candlelight?
For those who own their residence, then it’s no problem. If you rent the place where you live, it might not be so easy. Burning candles is often prohibited in lease agreements.
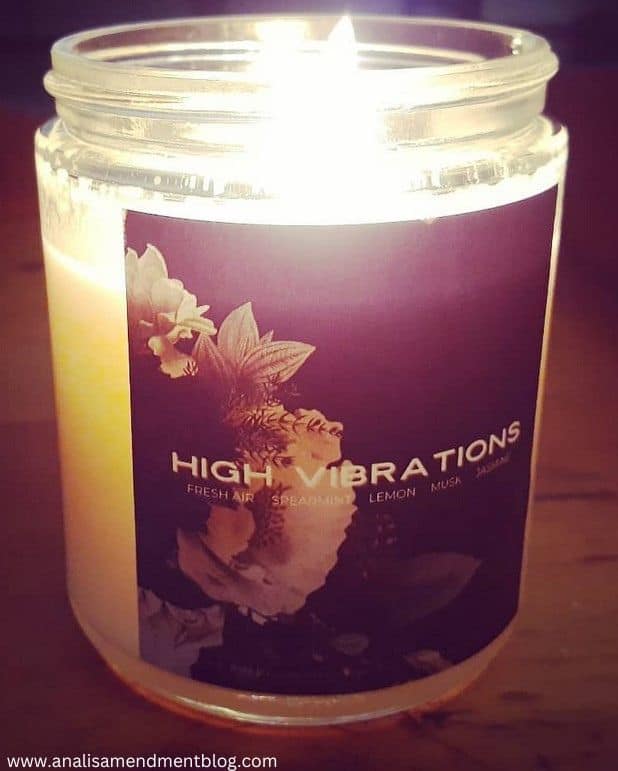
I love the scents and soft light of candles. They are part of my daily routine when I do yoga, meditate or just want to relax. Especially this time of year when we’re losing daylight. Tomorrow is the winter solstice. Winter starts officially and we will have more hours of darkness than any other time of year. Creating our own light sources indoors is the best way to create hygge and embrace the season.
My first encounter with burning candles being prohibited was at my last apartment. Before signing the lease, I spoke with the owner of the property and negotiated an addendum allowing me to burn candles.
The next encounter I was not so lucky. It was around this time last year that I sold my mother’s house and rented her an apartment. Again, the lease did not allow burning candles. This time I was not able to negotiate anything. It might be the difference between renting an apartment in a smaller multi-family house from an individual versus an apartment in a large complex with hundreds of units and a corporate landlord.
Further, where my mom lives there had been a recent fire caused by a candle, which resulted in a lot of damage. According to the National Fire Protection Association (NFPA), “Candle fires peak in December and January with 11 percent of candle fires in each of these months.”
Because of the dangers caused by candle burning, I can see why property owners want to prohibit the practice. According to Statista, there were more than 40 million housing units occupied by renters in this country last year. That’s a lot of people who are potentially having lifestyle restrictions.
I wonder about that fine line between a lifestyle choice and a religious and cultural practice. How often do landlords enforce this provision in a lease? When they enforce it, do they enforce it uniformly? At what point could this restriction result in religious discrimination?
Are people allowed to have birthday candles? If someone has a birthday party and they light candles and blow them out right away, that is different from someone burning several candles for a sustained period of time.
What if someone is lighting a menorah for Hanukkah? Or lighting the kinara for Kwanzaa? Not all candle burning is the same, so I wonder how do property owners decide. Maybe there is no actual enforcement, until there’s a fire and someone has to pay.


 I’ve been thinking a lot about how I’d like to spend my summer mornings.

